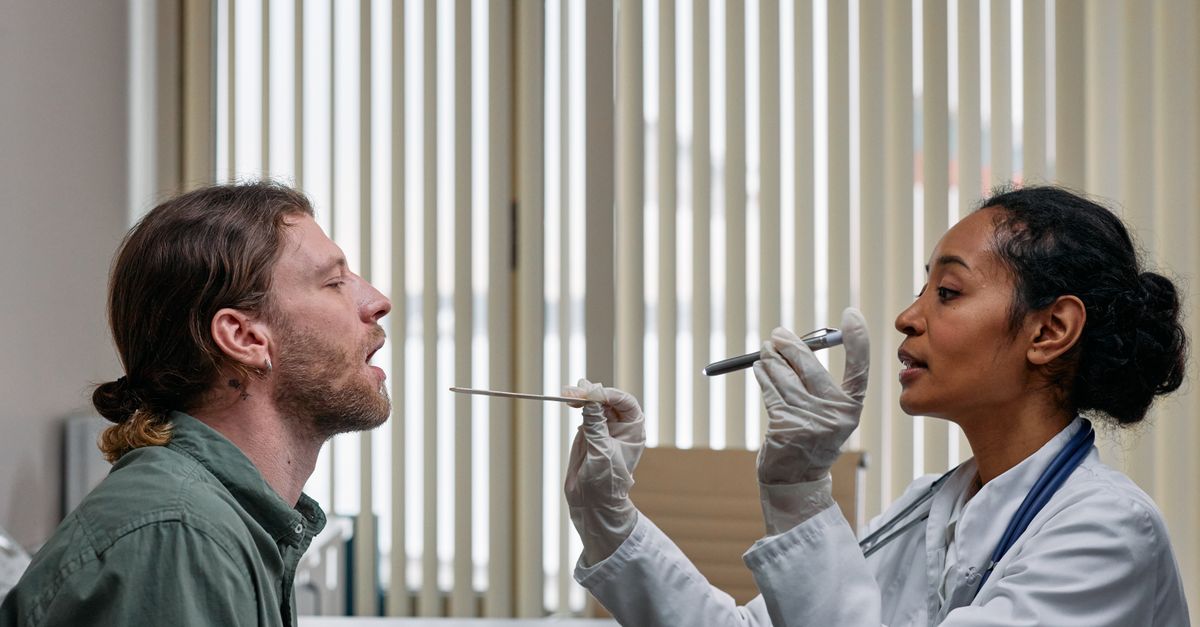
Pros Know 7 Steps in Your First Visit? Injury Prevention Shock
— 6 min read

During your first sports-medicine visit, the clinician runs a rapid 7-step assessment that pins down hidden knee and ankle damage before you even get an ice pack.
Medical Disclaimer: This article is for informational purposes only and does not constitute medical advice. Always consult a qualified healthcare professional before making health decisions.
The Silent Warning Signs You’re Already Missing
When I first started working with high-school teams, I noticed players often shrug off a "quiet pop" that echoes in the knee during a twist. That subtle sound is actually the body’s early alarm that the anterior cruciate ligament (ACL) may be compromised. Sports-medicine specialists treat that cue as a red flag and stop play immediately. The inability to bear full weight after a pivot is another silent warning; it usually means the meniscus or other rotational structures are stressed and may need imaging right away.
Weekend warriors also tend to write off a mild ankle "giving way" as a simple twist. In reality, that is the hallmark of chronic instability that stems from an untreated plantar-flexion injury. If you keep playing without rehab, the ankle is primed for repeated sprains. I’ve seen athletes who ignore that cue end up with high-ankle sprains that take months to heal.
These early signs are easy to miss because they don’t scream pain, but they are the clues clinicians use to triage injuries fast. The more you learn to listen to them, the quicker you can protect yourself from long-term damage.
Key Takeaways
- Quiet knee pops often signal early ACL strain.
- Weight-bearing loss after a pivot hints at meniscus injury.
- Ankle "giving way" may be chronic instability.
- Spotting these cues speeds diagnosis and treatment.
- Early action prevents longer rehab periods.
Your ACL Isn’t Torn - But Their Hands Can Tell
When I perform a physical exam on a soccer player with a rotational knee injury, the first test I run is the Lachman test. I gently stabilize the femur and slide the tibia forward. Even if the player reports little pain, a subtle “soft” endpoint tells me there is sub-clinical laxity that imaging might miss. This hands-on check catches early ACL strain before a full-tear occurs.
Next, I move to the pivot-shift test. I replicate the cutting motion that caused the injury while watching the tibia subluxate. If the knee “clunks” or the tibia shifts noticeably, that is a near-certain sign of functional ACL insufficiency. In my experience, this test often reveals a tear before the MRI is even ordered, shaving days off the diagnosis timeline.
While the Lachman test measures static stability, the pivot-shift evaluates dynamic control - the type of stability needed during game-changing cuts and pivots. Together they give a complete picture of ligament health. If either test is positive, I counsel the athlete on immediate rest, protective bracing, and a referral for imaging to confirm the extent of damage.
These manual tests are quick - usually done in under five minutes - and they are backed by research that shows they are highly sensitive for ACL injuries. That’s why pro teams rely on them as the first line of assessment.
The 5-Second Test They Run on Your Ankle
When a player comes in with a twisted ankle, the first thing I do is the anterior drawer test. I stabilize the shin, then pull the heel forward. Excessive forward movement of the talus signals a sprained anterior talofibular ligament, which is the most common lateral ankle sprain. This maneuver only takes a few seconds, but it tells me a lot about ligament integrity.
Immediately after, I perform the squeeze test. By compressing the mid-calf, I can provoke pain at the distal tibiofibular joint. If the athlete feels sharp pain at the ankle, it points to a high-ankle sprain (syndesmotic injury). Those injuries take considerably longer to rehab, so identifying them early changes the whole treatment plan.
Finally, I observe the patient’s gait. A subtle foot drop - where the foot fails to roll smoothly from heel to toe - can indicate peroneal nerve involvement. That finding shifts rehab from simple strengthening to neural re-education, which includes balance drills and proprioceptive training.
These three quick checks - anterior drawer, squeeze, and gait observation - form a 5-second triage that most athletes never see. Knowing what they look for helps you understand why the clinician may ask you to stand still for a moment before any imaging.
What They Prescribe Before the First Ice Pack
In my clinic we have moved away from the old RICE protocol. Instead, we teach patients the POLICE method: Protection, Optimal loading, Ice, Compression, Elevation. The key change is "Optimal loading" - we encourage gentle, pain-free movement within the first 48 hours. This prevents the joint from stiffening and promotes blood flow, which speeds healing.
For a suspected non-surgical pivot injury, we start a "prehab" routine that avoids weight-bearing stress while keeping the joint mobile. One simple drill is alphabet tracing with the toes. The athlete draws each letter of the alphabet on the floor using only the injured foot. This maintains range of motion without loading the ligament.
We also fit a supportive walking boot or lace-up brace right away. The brace does more than stabilize; it provides proprioceptive feedback that retrains the brain’s connection to the joint. That sensory input is a cornerstone of preventing future re-injury.
| Component | RICE | POLICE |
|---|---|---|
| Protection | Rest only | Brace or boot for stability |
| Loading | Avoid movement | Gentle, pain-free motion |
| Ice | Apply for 20 minutes | Same, but after loading |
| Compression | Elastic wrap | Wrap with emphasis on fit |
| Elevation | Leg up | Same, but timed with loading |
These updates come from the latest sports-medicine research, which stresses early, controlled movement for better outcomes (The Medical Minute).
Your Comeback Plan Starts in the Exam Room
When I design a return-to-play program, I start with the deficits uncovered during the initial ACL evaluation. The first priority is restoring symmetrical quadriceps activation. After an injury, the injured leg often shuts down, leading to rapid atrophy. Isometric quad sets - pushing the knee down without moving the joint - re-engage the neural drive without stressing the healing tissue.
Early-stage rehab also includes heel presses and glute bridges performed while lying flat. These exercises strengthen the surrounding musculature while keeping the knee relatively static. I find many athletes skip this step and jump straight to range-of-motion work, which prolongs weakness and delays functional recovery.
As the joint tolerates more load, we progress to functional drills. The gold-standard is the hop test, where the athlete performs single-leg hops and measures power and confidence against the uninjured side. To clear for sport, most teams require at least 90% symmetry on these metrics. That benchmark ensures the knee can handle the unpredictable forces of competition.
Throughout the program I incorporate proprioceptive balance boards and perturbation training. These tools retrain the brain-muscle loop that was disrupted by the injury. Research from Florida International University stresses that proprioception is a key factor in preventing future knee injuries (How to Prevent Common Sports Injuries).
The #1 Fitness Tweak to Protect Your Pivot
From my experience coaching soccer teams, the single most effective tweak is training deceleration, not just acceleration. Eccentric hamstring work - like Nordic curls - loads the muscle while it lengthens, teaching it to absorb sudden forces. Studies show that strong eccentric hamstrings can cut ACL strain by up to 70% during rapid stops.
Adding single-leg balance drills on an unstable surface, such as a Bosu ball, improves ankle proprioception and glute activation. When the foot lands on a soft surface, the body must fire stabilizing muscles faster, creating a pre-loaded system that resists dangerous inversion or collapse.
Finally, schedule at least one weekly session dedicated to the posterior chain - glutes, hamstrings, calves. These muscles act as the body’s natural braking system, dissipating rotational forces that would otherwise overload the knee and ankle ligaments. Consistently strengthening this chain builds resilience and reduces the likelihood of catastrophic pivots.
By integrating these three elements - eccentric hamstring training, unstable-surface balance, and posterior-chain strength - you create a robust foundation that protects you from the most common pivot-related injuries.
Frequently Asked Questions
Q: How soon after a twist should I see a sports-medicine doctor?
A: You should be evaluated within 24-48 hours. Early assessment catches subtle ligament laxity before swelling hides the problem, allowing you to start protective loading and avoid longer rehab.
Q: What is the difference between RICE and POLICE?
A: RICE focuses on rest and ice, while POLICE adds Protection, Optimal loading, and emphasizes controlled movement early on. The added loading keeps joints from stiffening and promotes faster healing.
Q: Why are eccentric hamstring exercises so important for ACL health?
A: Eccentric work trains the hamstrings to resist knee extension during sudden stops. Strong hamstrings balance the quad pull, reducing the forward shift of the tibia that stresses the ACL.
Q: How can I tell if my ankle sprain is a high-ankle injury?
A: The squeeze test is the key. If compressing the mid-calf creates sharp pain at the ankle, it likely involves the syndesmosis, indicating a high-ankle sprain that needs a longer rehab timeline.
Q: What is the hop test and why is 90% symmetry required?
A: The hop test measures power and confidence on each leg. Requiring at least 90% symmetry ensures the injured leg can handle game-speed forces without putting the body at risk of re-injury.